.svg)


What is the Exposure Triangle?
In photography, the exposure triangle explains the relationship between shutter speed, ISO and aperture. Whether you’re shooting old school film or with a mirrorless, these three factors are at the center of every exposure.
Understanding the exposure triangle, also called the photographic triangle, will help you determine how a picture will look before you take it. And while saving film in today’s digitally dominated world is probably not your first priority, knowing how aperture, shutter speed, and ISO work together to compose your image will make you a smarter, more efficient photographer.
With getting to know these variables, you’ll also come to realize that, at least artistically, there is no one ‘correct’ exposure for a scene.
First, what is photography, anyway? Without waxing philosophical, and just looking at its etymology, photography, literally means, “light painting.”
So, to ‘paint’ what you’ve visualized in your mind’s eye, that is, to turn your creative concept into a concrete image, it helps to understand this relationship of aperture, shutter speed and ISO, and how it affects the way light enters the camera lens and reaches the sensor to ‘paint’ your image.
Let’s take a quick look at each of the three values in the exposure triangle:

1. Aperture
Like the iris of your eye, the aperture blades on the lens of a camera control how much light is let into the camera lens. The amount of light that reaches your camera’s image sensor will determine what the exposure looks like.
Each aperture setting on the lens is referred to as an f-stop, a fraction that indicates the diameter of the lens opening. Aperture also determines the depth of field and sharpness. Every lens has a “sweet spot” or “critical focus,” usually between f/4 and f/11.
2. Shutter Speed
While aperture determines how wide the lens opening is, shutter speed determines how long the lens stays open for, letting the specific amount of volume of light into the sensor determined by the aperture. A faster shutter speed, like 1/1000th of a second, has the effect of freezing motion, while a slower shutter speed, like 1/60th, will blur motion in a scene.
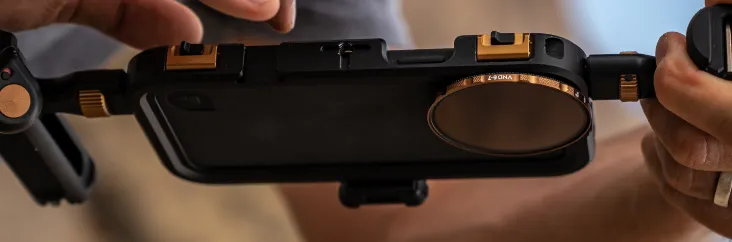
Much like in photography however, the exposure triangle can be used when filming as well. The 180 degree rule of shutter explains the relationship between shutter speed and frame rate when recording motion in video. In order to maintain continuity within the film and make the motion seem natural to the human eye, the shutter speed should be set to double your frame rate. Most cinematic videos are captured at 24 fps, so when you are filming you would want to double this number and change your shutter speed to 1/50th of a second. If you are shooting 30 fps however, you would change the shutter speed to 1/60th, or 50 fps your shutter speed would be 1/100th, in order to create proper motion blur. If you wanted to adjust the settings manually to capture slow motion videos, the frame rate must be adjusted to triple your shutter speed. For example, if you are shooting at 60fps then your shutter speed would be 1/20, or if your frame rate is 120 fps then your shutter speed would be 1/40, etc. In addition ND filters can be used to adjust your shutter speed, as an ND filter is used to reduce the amount of light that is permitted to reach your camera’s sensor. By doing this ND filters help reduce shutter speed, which in turn, allows you to double your frame rate in harsh lighting conditions. At PolarPro, we feature a wide range of ND filters for most camera devices which can help you master the proper shutter speed and as a result, create professional cinematic footage.
3. ISO
ISO is the international standard of measurement that determines how sensitive a photographic film emulsion or digital sensor is to light. When increasing the ISO it allows you to work with less light, however if the ISO is increased often times there will be more noise and less detail within your video. In other words, when increasing your ISO it will bring light into dark images, but as a result can diminish the quality of the shot. At lower ISOs the degree of your camera’s signal is significantly large when compared to the noise, this means that the noise generally remains inconspicuous. When shooting on your device, it is best to keep your ISO low in order to avoid noise; however, your determined ISO level is ultimately dependent upon the surrounding environment and lighting conditions. For example, if you are shooting in a low-light setting you will need a higher ISO to properly expose the photo and brighten up the film. On the other hand, when you are in a very bright setting and trying to capture footage, a lower ISO would be appropriate in order to avoid noise getting into your photo or video.
Putting It All Together
To produce a photograph or video you must use the exposure triangle in order to balance aperture, shutter speed and ISO, and as a result, control how long and how much light enters the camera sensor. But to make a work of ‘art,’ as it were, you’ll need a fine-tuned combination of technical prowess (i.e. knowing the exposure triangle) and an untethered imagination.

Edited by Carly San Filippo
Written by Scott Fairfax