.svg)


Members of the PolarPro team recently made the 430 mile trek from our HQ in Southern California to Zion National Park in Utah. For those unfamiliar with Zion National Park, it is the oldest national park in Utah and what makes it unique is its geological features that were formed more than 250 million years ago creating some of the iconic scenes that we will be sharing with you in this article. Our team set out to share what filters are most often used on photography trips similar to this one; including when and why you should use polarizing filters and neutral density filters, and they’ll also share some advice that we’ve learned shooting with these filters in our own landscape photography.

Our explorers set out along the Grotto trail, and used the time to utilize one of the more common photography filters - the neutral density, or ND filter.
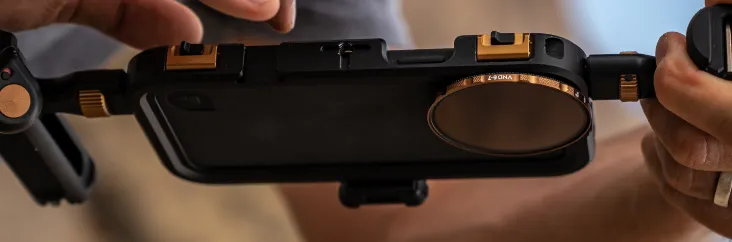
The ND filter is great for situations where you want to reduce shutter speed, such as when shooting in bright conditions or to capture the sunrise or sunset in a timelapse image. ND filters are available in different "strengths"; the darker the filter means that less light is hitting your camera sensor which will enable you to use longer exposure times. On this trip a circular polarizer, ND64, ND64/PL, ND1000, and lastly an ND100,000 were used. Please note at this time that the higher the number equates to an increase in "strength".
Utilizing these ND filters will reduce your shutter speed in bright light to create smooth motion blur on moving water and for example would blend together the movement of clouds against the bright blue sky. These filters can even help to remove the unwanted tourists in a crowded area by utilizing a long exposure that would not be possible with an ND filter and effectively remove the crowd from the shot.
The first stop of the journey to Angel's Landing was along the Virgin River beside the Grotto Trail which is known to be a flat and mellow hike before it connects to the more grueling part of the hike to Angel's Landing by way of the West Rim Trail. The sun was nice and bright with some slight cloud coverage, presenting an opportunity to produce a comparison image between no filter and an ND64/PL to show the effects that an ND filter will have on the same setting.
Before moving on, our team wanted to demonstrate what the progressive strength of the ND1000 filter is compared to the ND64/PL. With the ND1000 filter applied, the user is able to further reduce the shutter speed of the camera. In this scenario of shooting the Virgin River, the longer shutter speed creates a smooth, ribbon effect on the water by blurring out the motion.

No Filter

ND64/PL

ND1000
As the clouds began to vanish further up the Grotto Trail, it offered a perfect location to apply a circular polarizer (CP) to demonstrate what a CP does to a moving sky. Making sure to orient the camera 90 degrees away from the sun, a CP produces a reduction of glare of the surrounding landscape, as well as making the sky become saturated with color which effectively makes the clouds really "pop". In this sense, the use for a CP filter is good when trying to draw the attention to a subject or object in your scene that you want your audience to take notice of.

Without a CP Filter

With a CP Filter
After completing the hike up the West Rim Trail that saw an elevation increase of 1500 ft, the last stop was at the top of Angel's Landing where the views are breathtaking (see for yourself below)! With moderately clear skies fast moving clouds, the team set up the camera with the ND1000 to capture long exposure images of the valley. After taking a few sample images, they realized that it was too bright outside for the ND1000 and they opted to increase the strength to the ND100000 filter. With the increase in strength from the ND1000 to the ND100000, less light will be able to get to the sensor to compensate for an even lower shutter speed. An increase in motion blur is the result of the decreased shutter speed, and in this case provided uncanny views of the clouds.

Without an ND100000 Filter

With an ND100000 Filter

Without an ND100000 Filter

With ND100000 Filter
After a good night's rest, our team headed back out into Zion National Park. After each bundled up in a set of dry suits, they were back on the trails hiking to the Temple of Sinawava with a few stops planned along the way. The first stop along the narrows gave the opportunity to apply and use an ND64 filter which is likely used in mid-aperature shots and lower light conditions. The use of the ND64 promotes slowing of shutter speed in tandem with a longer exposure time of two seconds or longer to introduce motion blur and reduce glare.

Without ND64

With ND64
At this point, you might be asking yourself, "what is the difference between a neutral density (ND) and neutral density/polarizer (ND/PL)?". Well, the stand alone ND filter does not have a polarizing element, while the ND/PL filter is a combination filter that provides polarization as well as a neutral density coating to reduce light. The main benefit of an ND/PL filter, aside from convenience, is that this type of filter allows you to shoot through one glass element, instead of stacking ND and PL filters to achieve the same effect. This is because the more mediums you shoot through, the more your image quality is negatively affected which is an unwanted side effect when in the field trying to capture perfection.
By adjusting the ND/PL filter orientation, this cuts down the glare significantly providing for clearer images while still introducing the desired motion blur from the use of an ND filter and related settings. This enables the ability to shoot a subject or background as desired with highlights in the background and reducing the glare of the foreground, such as from a river or lake.

With ND64

No Filter

ND64/PL
With our Team moving on to the next location, we hope that this article and related video both provided insight into long exposure photography with the use of ND filters and inspired you to get out into the wild to capture perfection! If you are interested in learning more or wanting to check out our QuartzLine ND filters for your next trip out into the field, use the links below!
